PCV & Oil Separator Membranes (Diaphragms) — Repair Kits & Replacement Parts
PCV oil‑separator diaphragms control crankcase vacuum and keep oil mist out of the intake. When these soft parts fail, you’ll notice vacuum leaks, oil in the intake, or elevated crankcase pressure. A membrane swap restores function far more cheaply than replacing the whole unit:
-
Fixes vacuum/pressure faults and oil‑consumption symptoms.
-
Fitment‑first: match by OE/part number and engine code.
-
For professional shops and experienced DIYers who can bench‑test and verify fitment.
Need help? Send the VIN + OE number, and photos to support.
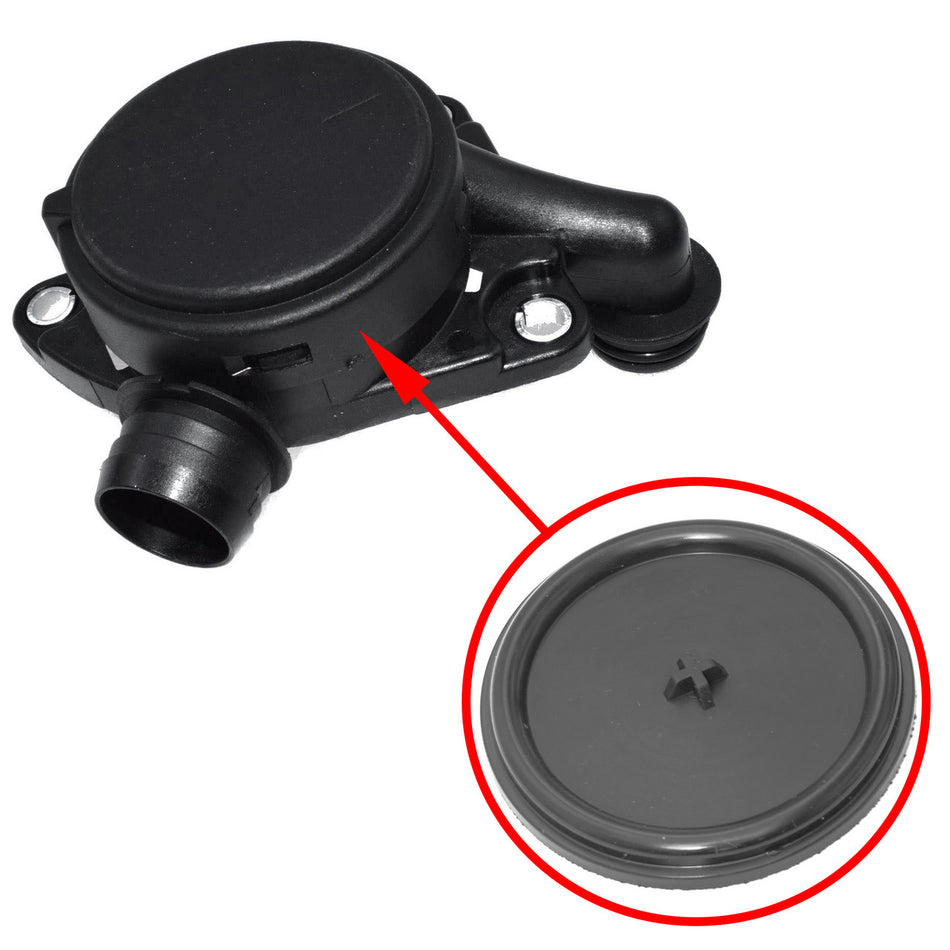
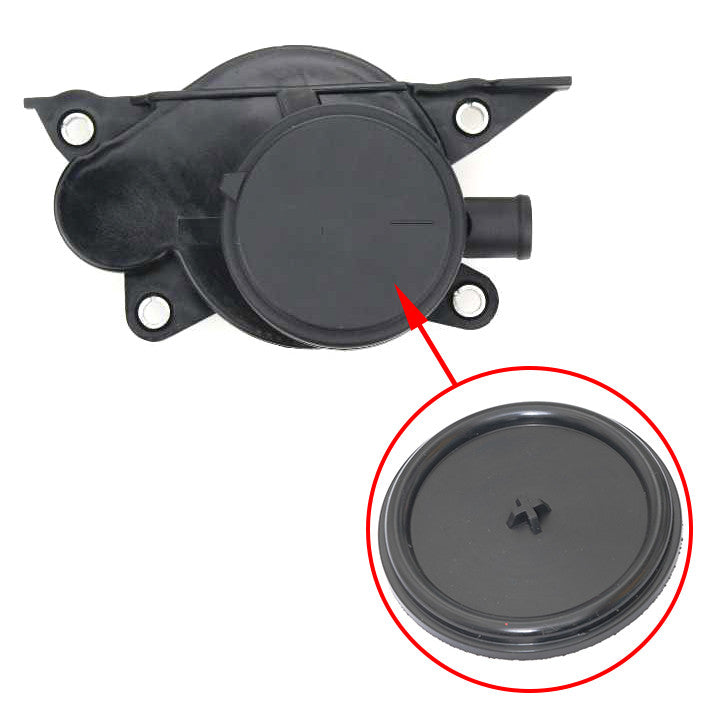
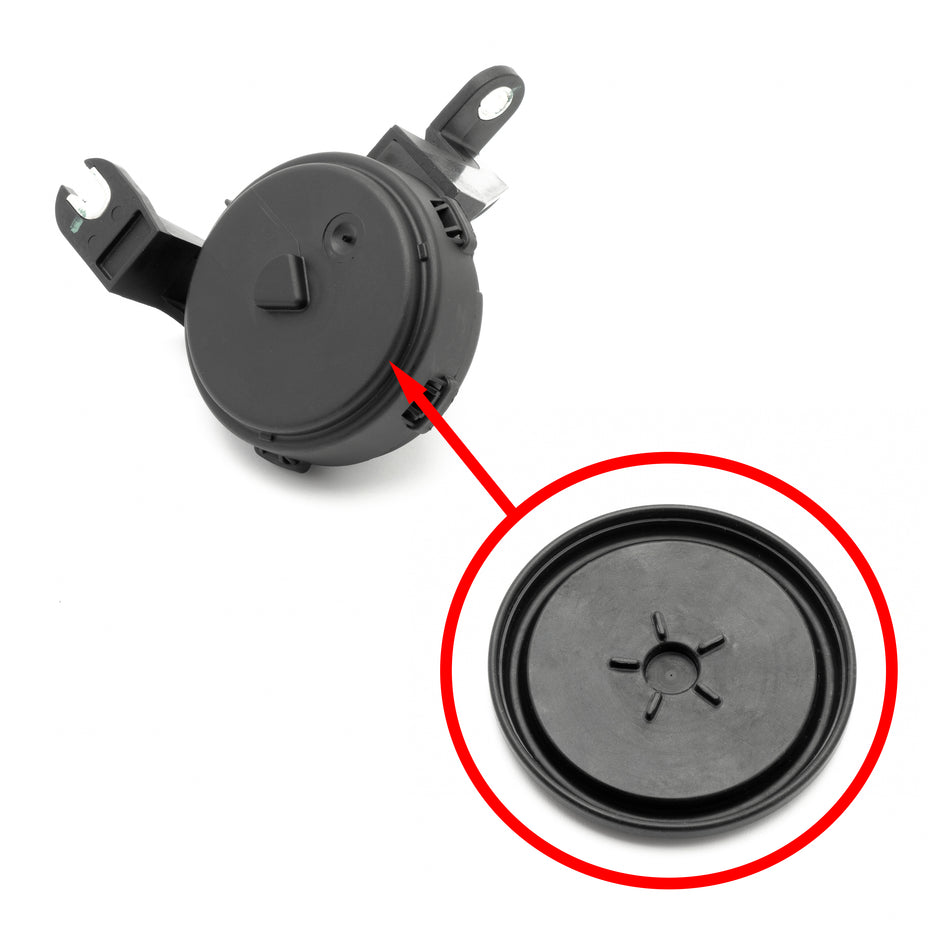
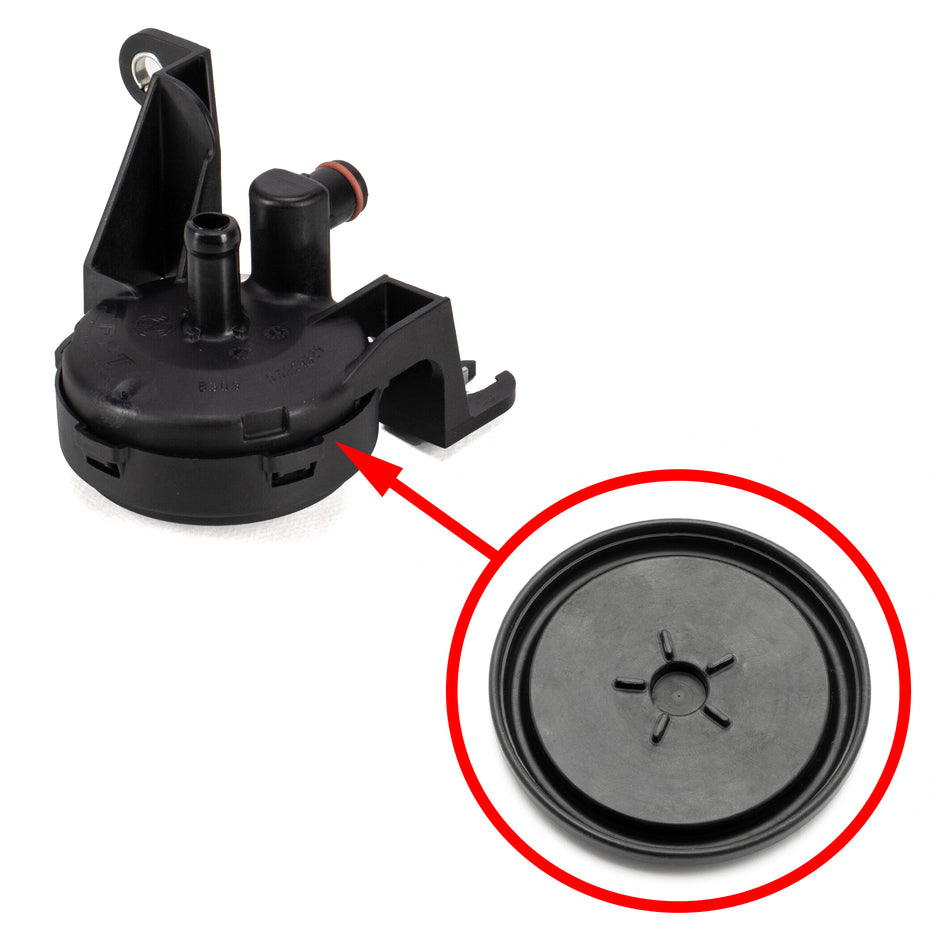
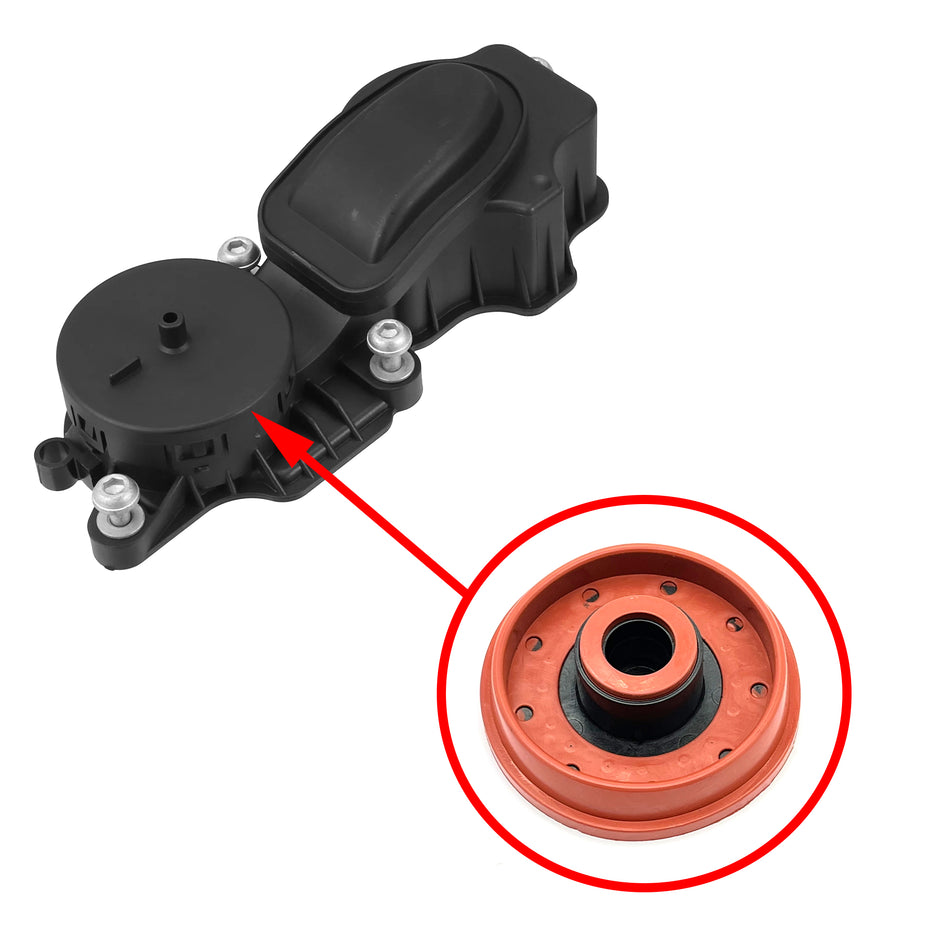
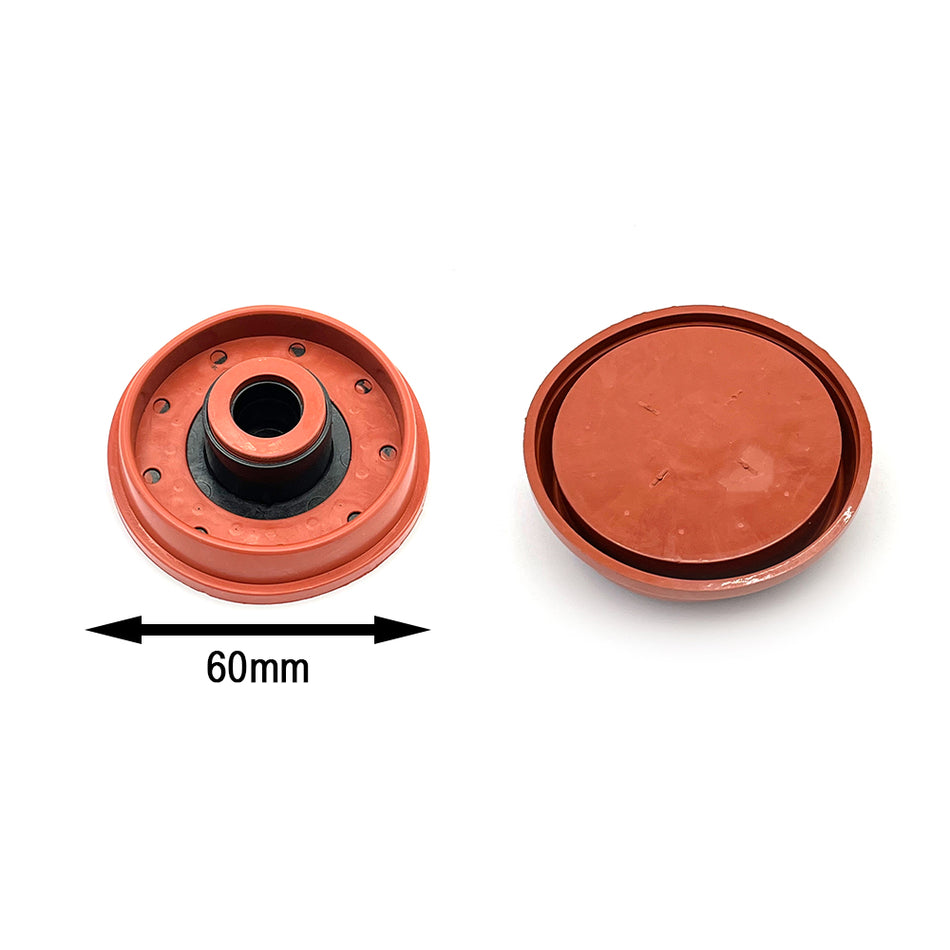
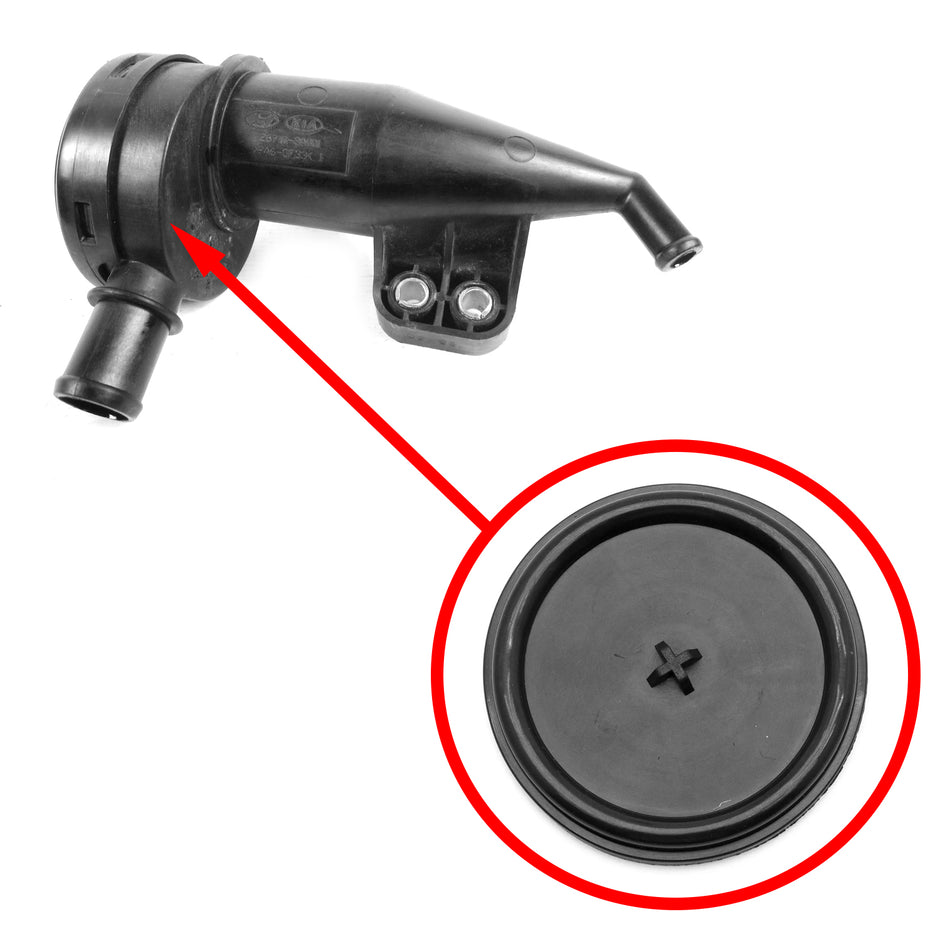
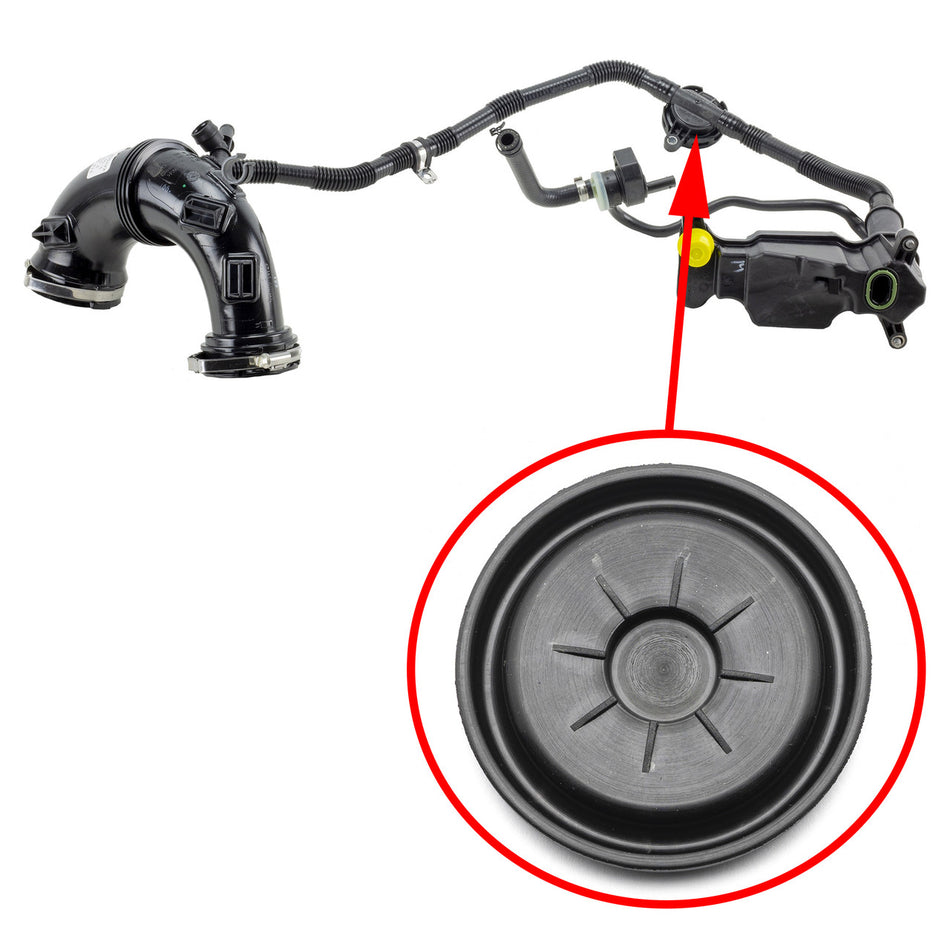
What Is a PCV Membrane, and What Does an Oil Separator Diaphragm Do?
A PCV diaphragm meters blow-by gases and maintains the correct crankcase pressure. The oil-separator diaphragm helps strip oil droplets from those gases before they return to the intake. Together they prevent oil carryover, protect turbo seals, and keep idle and sensors stable.
PCV and Oil Separator Symptoms (Quick Diagnosis)
Most symptoms point to either a leak or loss of separation; use them to triage before ordering parts:
-
Rough idle/lean feeling → torn PCV diaphragm or vacuum leak in the PCV path.
-
Whistling or honking noise → ruptured membrane or a valve stuck open or closed.
-
Increased oil consumption or oil in the intake/intercooler → loss of separator efficiency or oil-mist bypass.
-
Oil leaks around valve cover, dipstick, or breather hose → excess crankcase pressure forcing oil past seals.
-
Smoke or heavy blow-by at the breather → a separation failure or a crankcase pressure control issue.
Some symptoms can be noticed even without much effort. For example, strange sounds or rough idle are usually immediately noticeable.
For the rest, it is best to carry out regular checks, such as:
-
Inspect PCV hoses/connectors for cracks or oil.
-
Probe for vacuum at the oil cap or dipstick.
-
Run a smoke/pressure decay test.
-
Look for oil residue in intake runners.
What Causes PCV/Oil Separator Membranes to Fail?
The PCV valve membrane lives in a harsh environment with heat, oil, and soot. Here’s what usually kills them and what you’ll hear or see:
-
Heat ageing → tiny cracks, rough idle.
-
Oil contamination → oil in intake/intercooler, sticky action.
-
Soot/sludge → black residue, poor separation, higher oil use.
-
Mechanical binding → flap stuck, flat spots under load.
-
Pressure spikes → seals weep, dipstick push‑out.
-
Bad vacuum lines/solenoid → intermittent actuation, hissing.
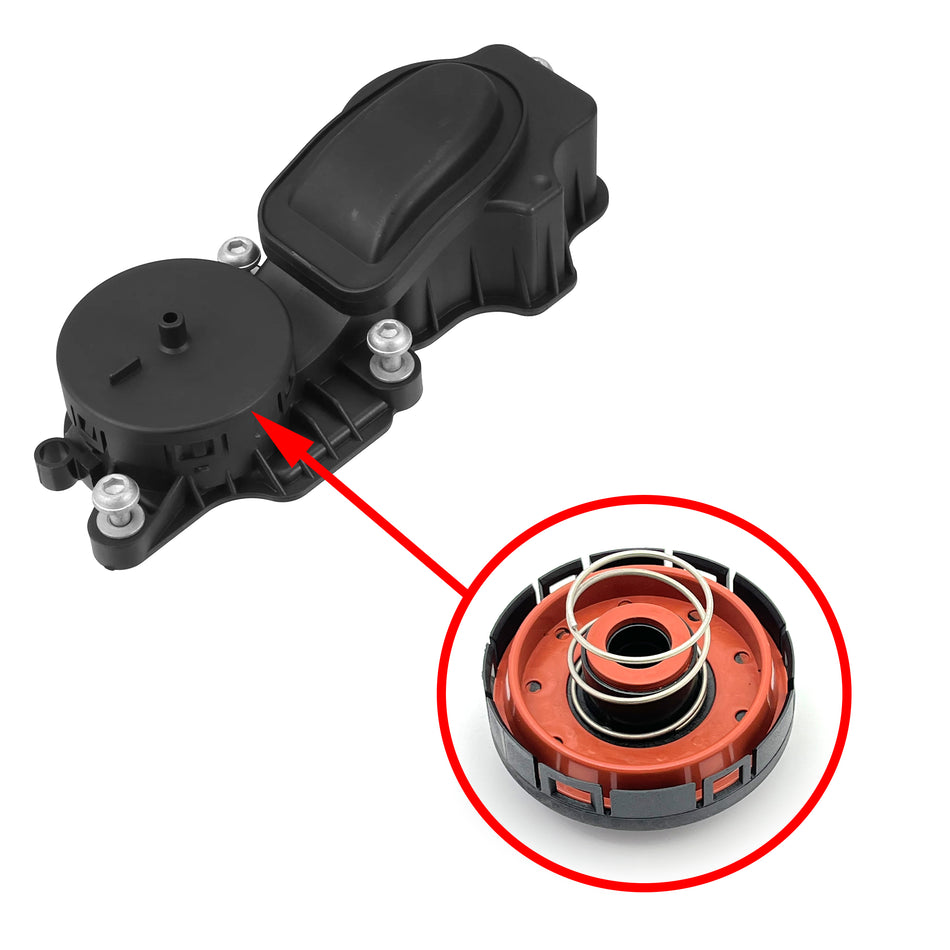
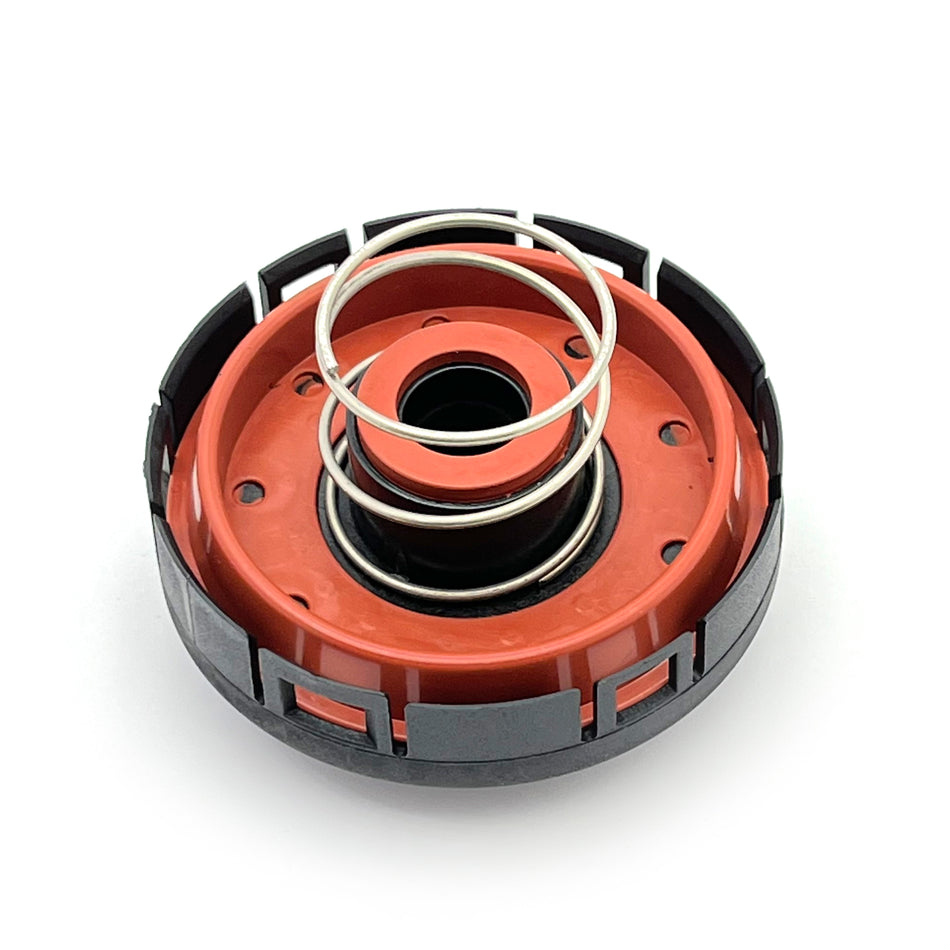
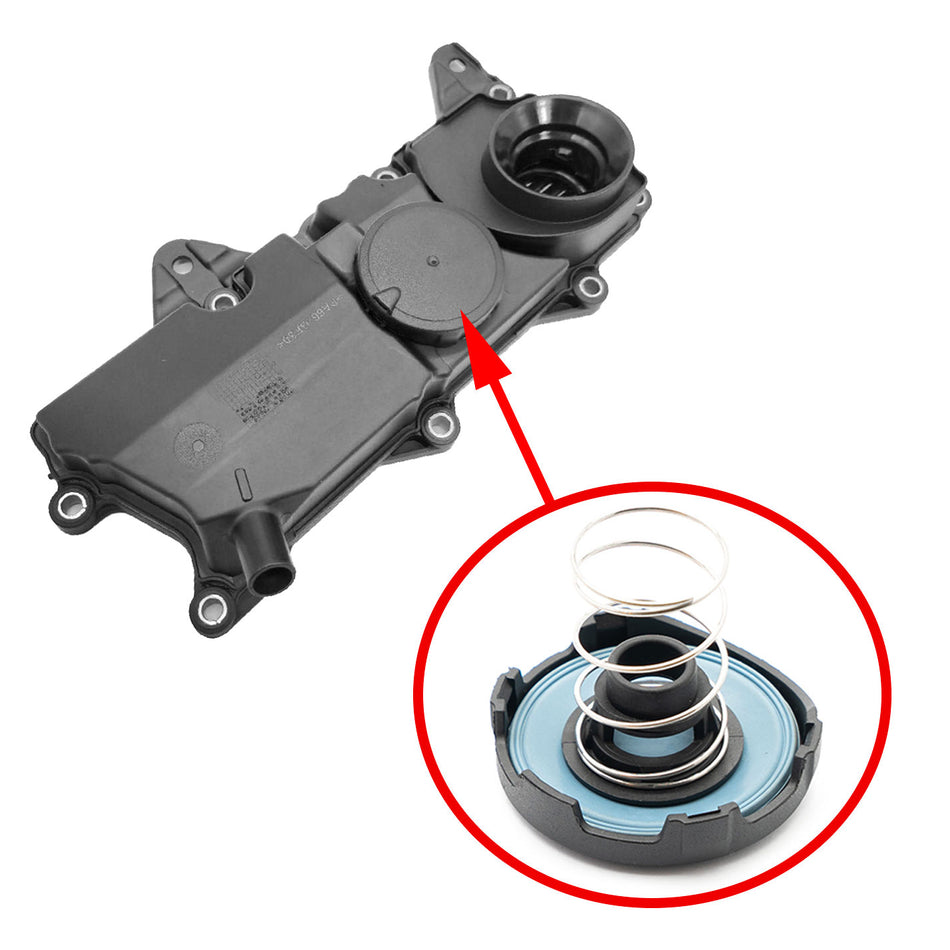
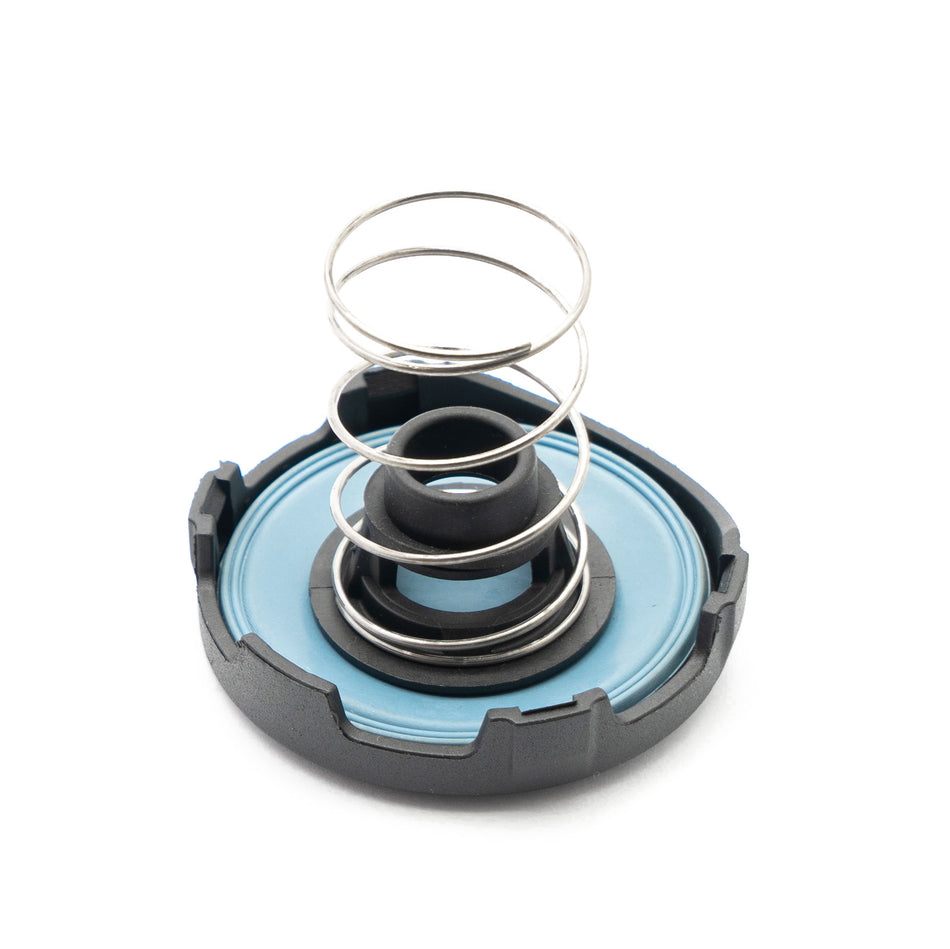
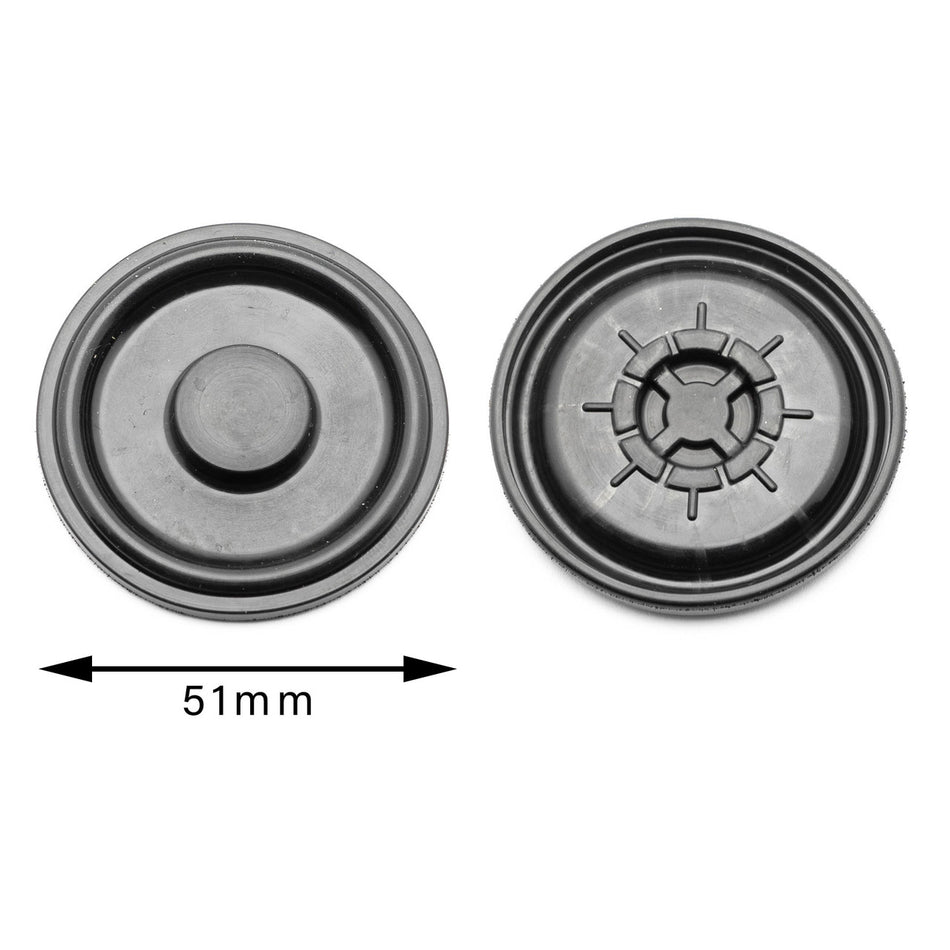
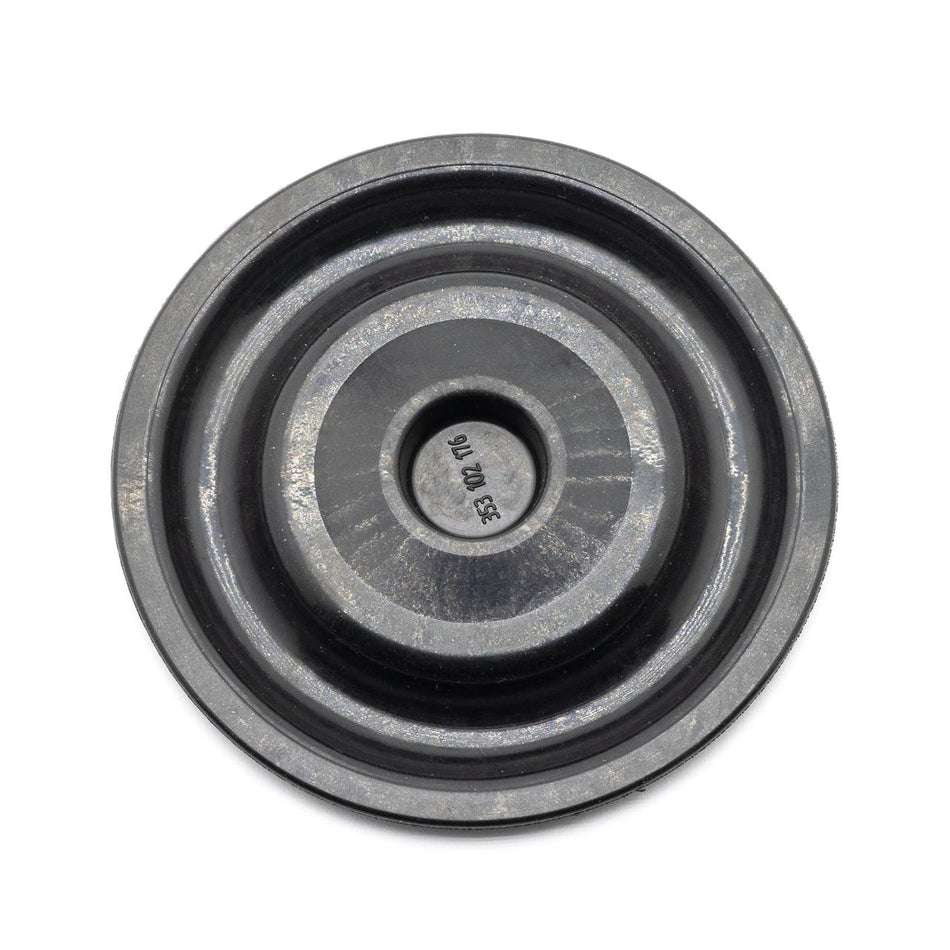
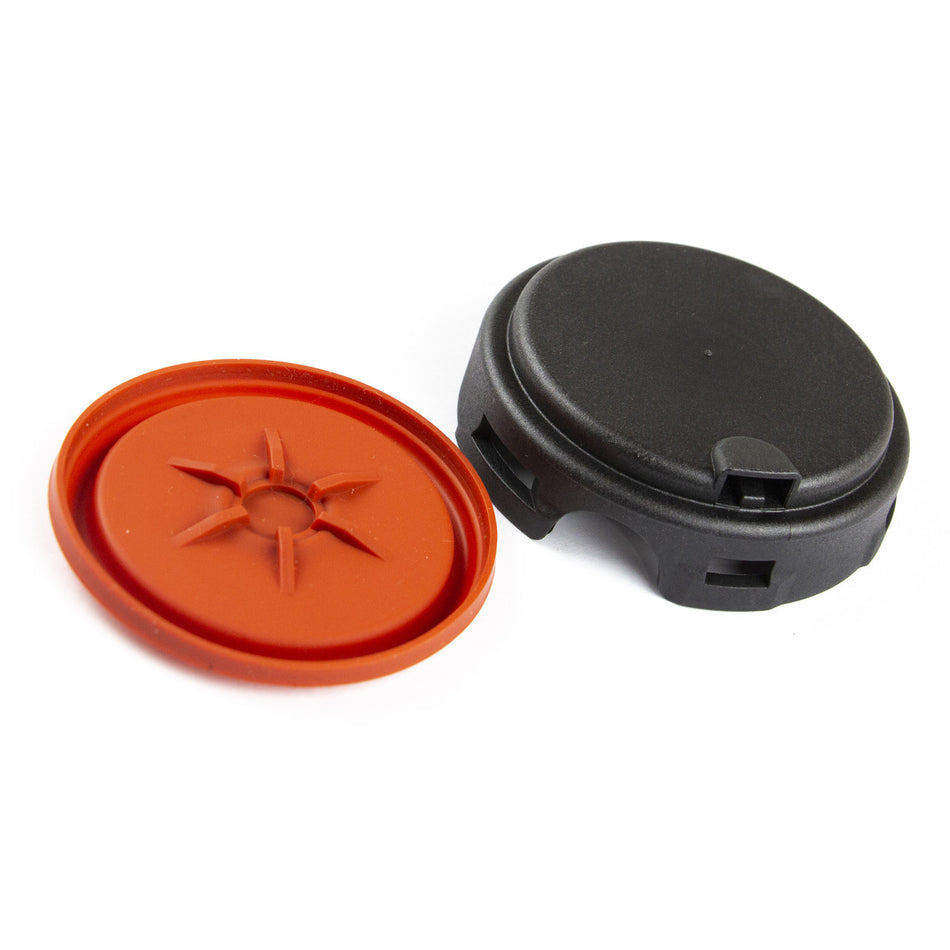
PCV Membrane vs. Oil Separator Kit vs. Complete Assembly
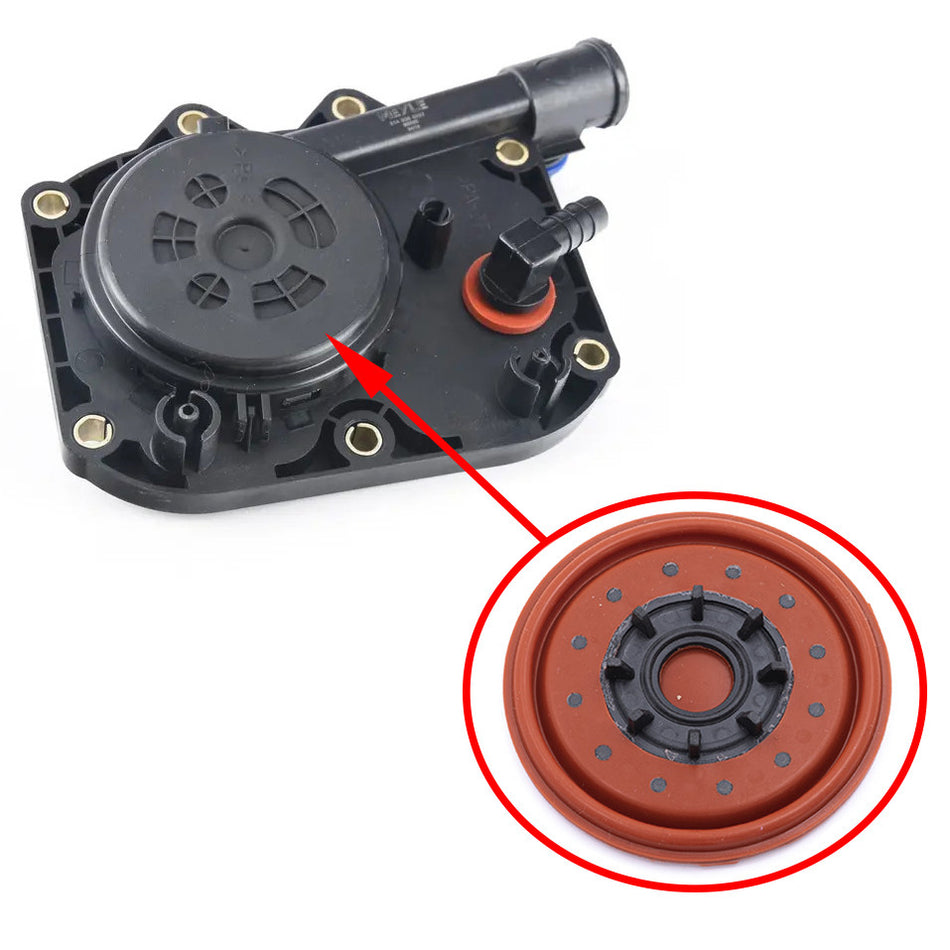
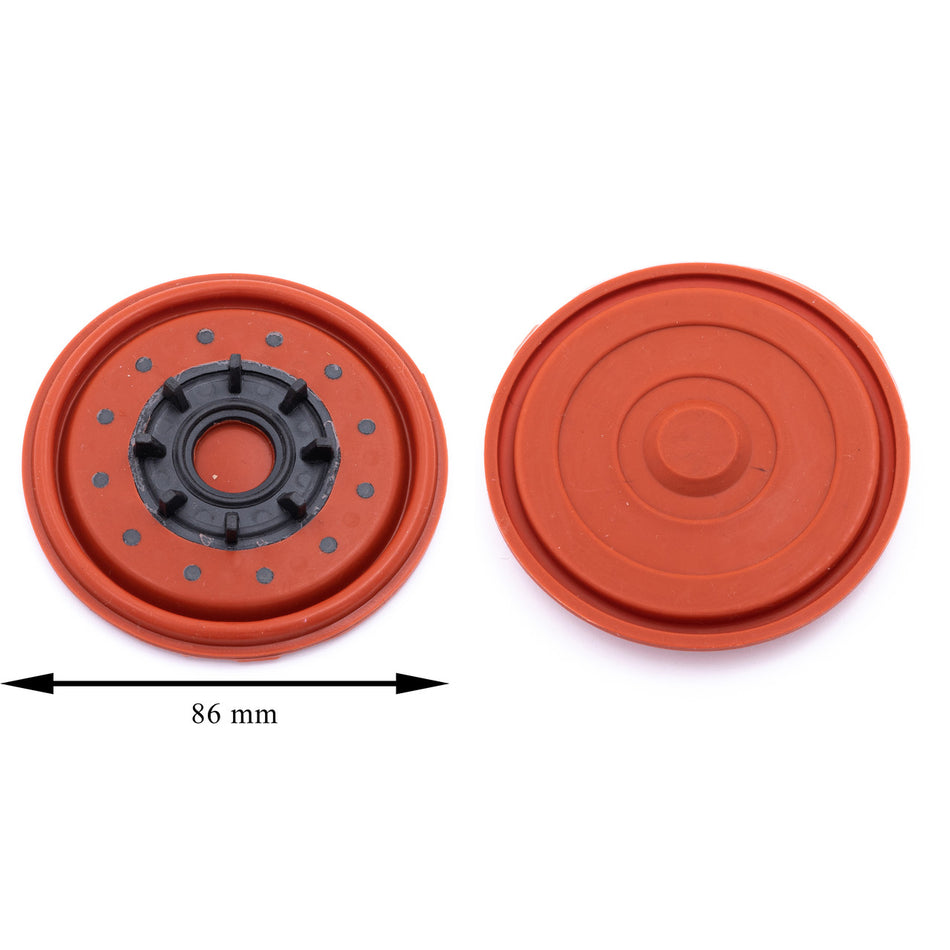
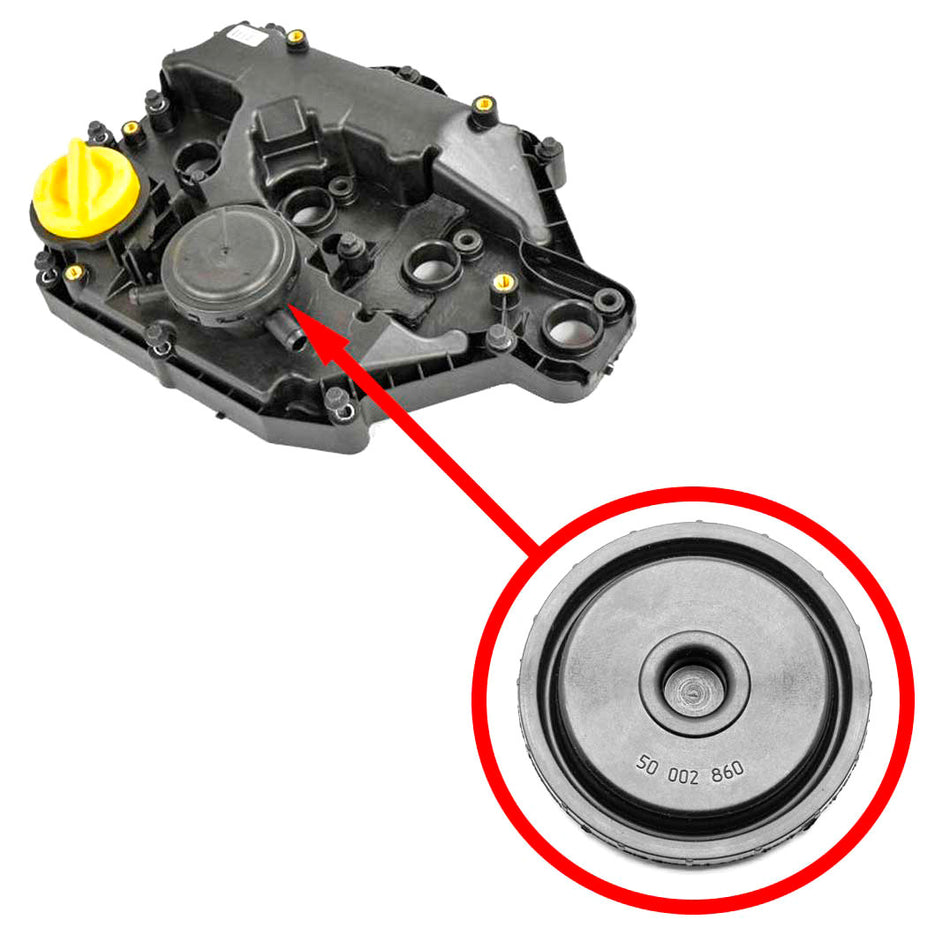
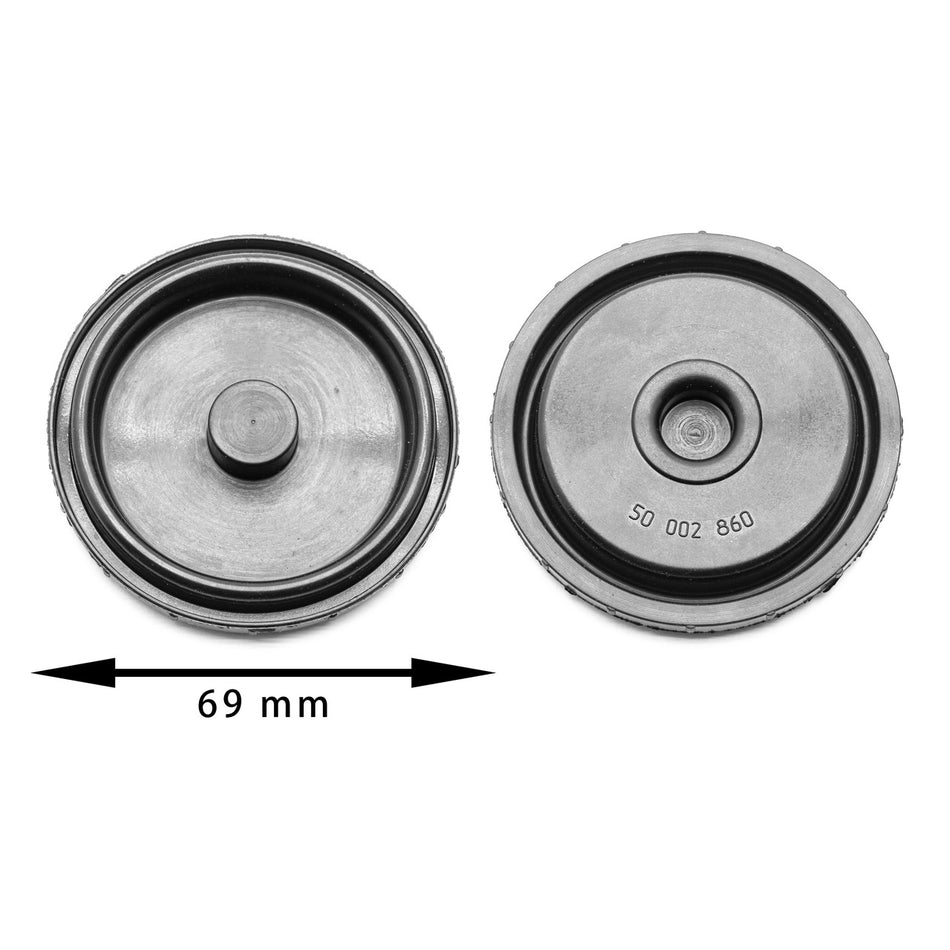
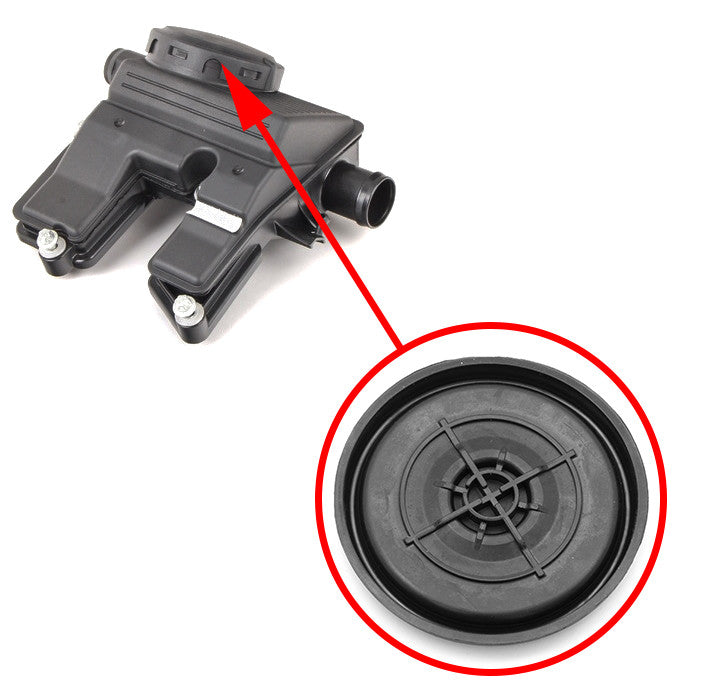
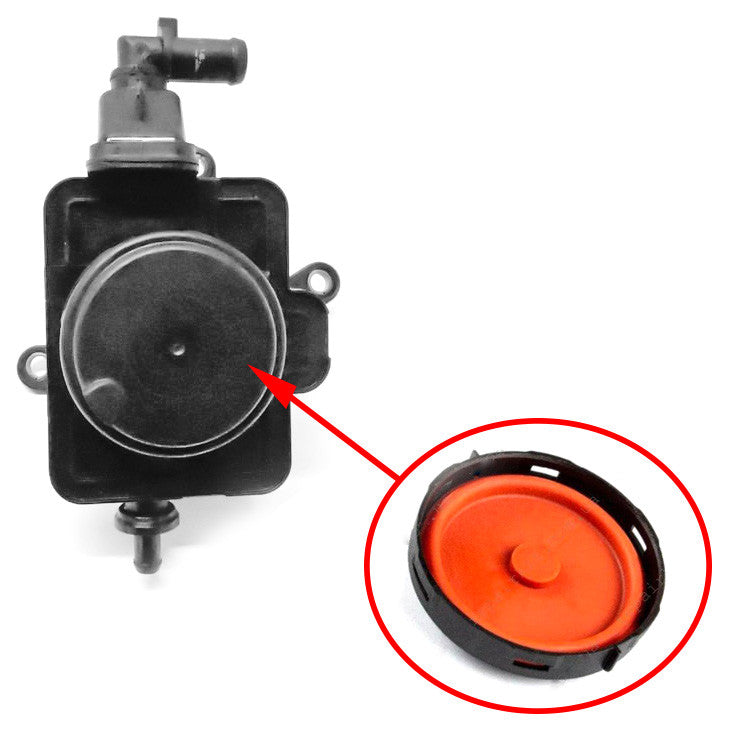
If the housing and ports are intact, a PCV diaphragm swap is the least invasive fix. An oil separator kit usually bundles the membrane plus seals and O‑rings.
Install a complete assembly when the housing is cracked, mating surfaces are warped, or the internals are heavily coked and uncleanable. PCV membrane repair kits differ by application, so verify whether you’re buying a diaphragm‑only, a service pack, or a full replacement.
Catch Can vs. OEM PCV Repair
An oil catch can is an aftermarket add‑on that traps oil mist before it reaches the intake; it does not repair a failed OEM separator or engine diaphragm. OEM diaphragm repair restores factory pressure regulation and separation behaviour and should be diagnosed and fixed first. A catch can be an option after OEM faults are corrected, but do not view it as a substitute for repairing broken valve membranes.
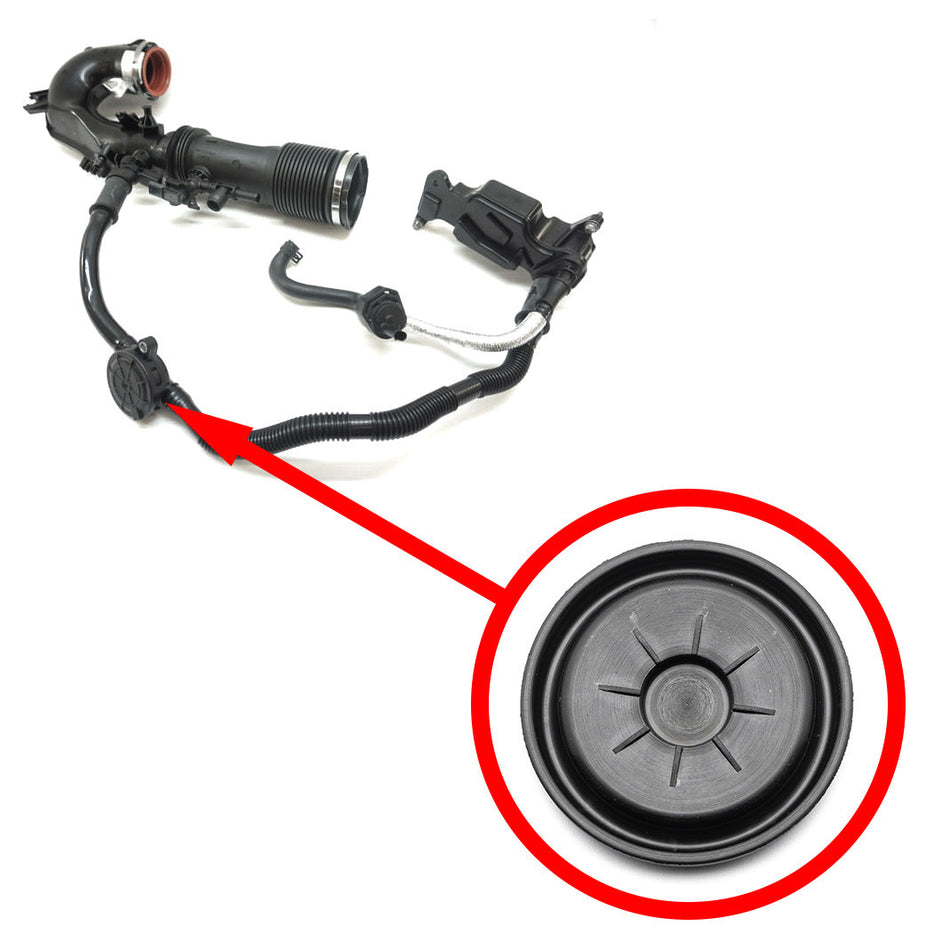
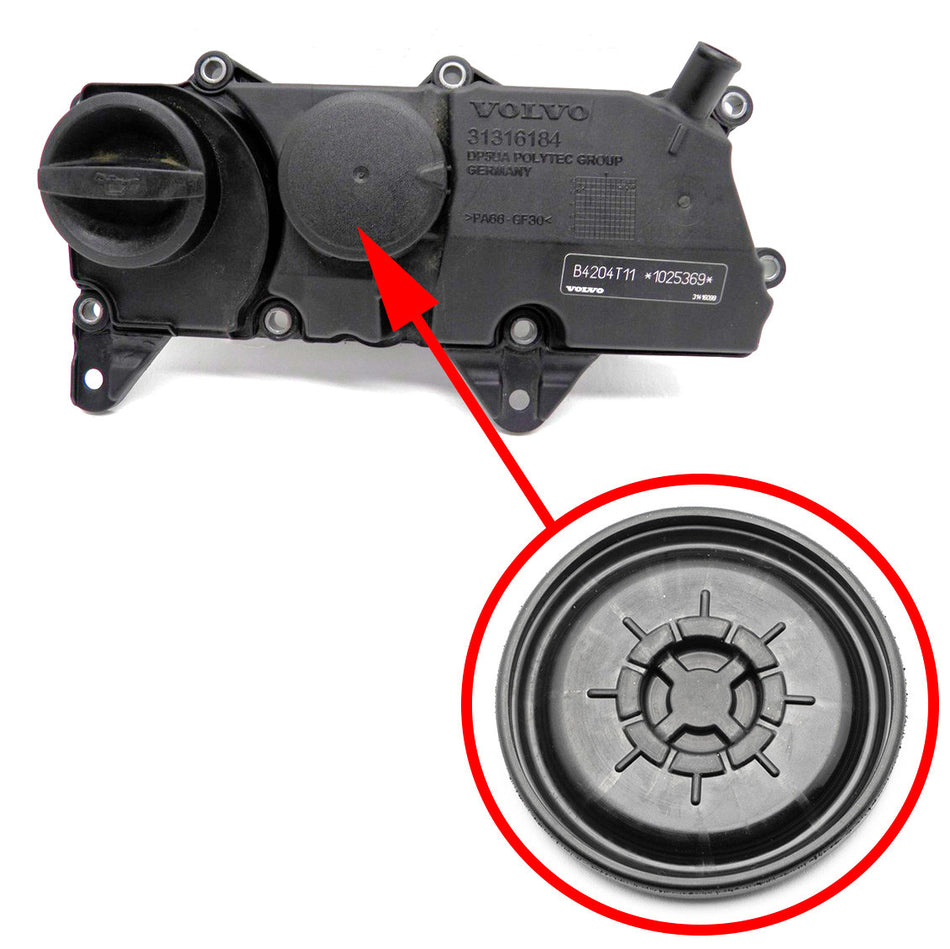
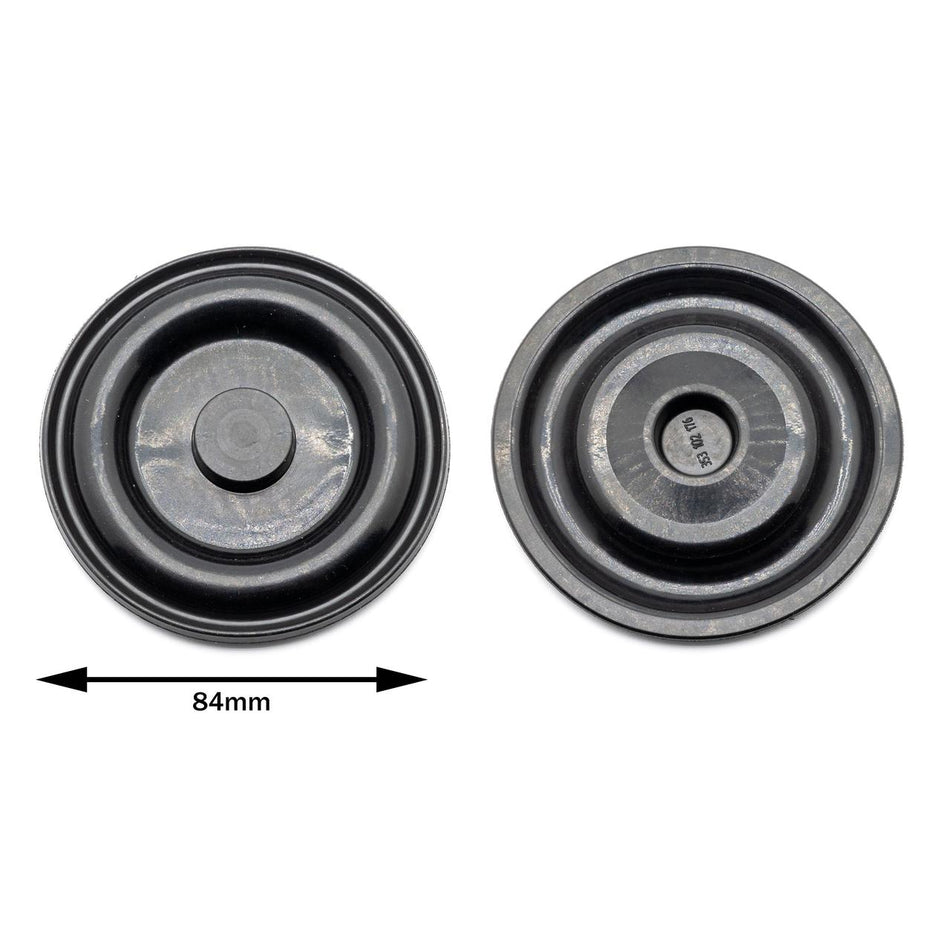
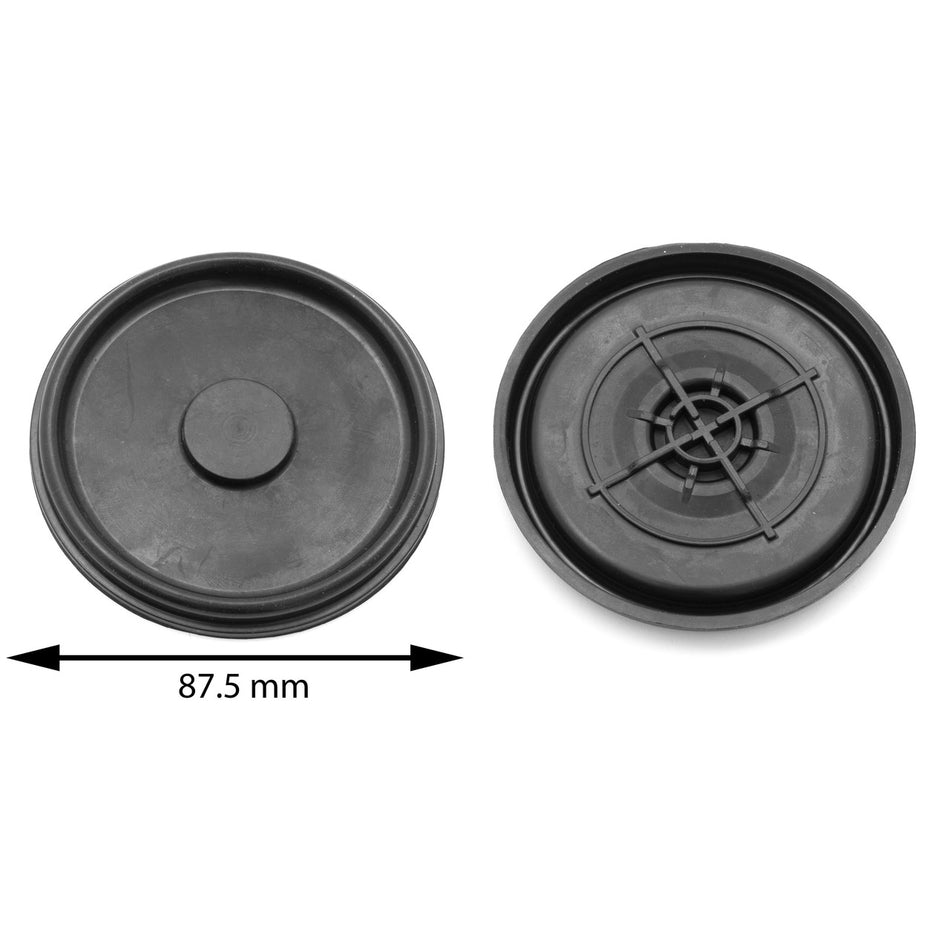
How to Choose the Correct PCV/Oil Separator Membrane
Match by OE / Part Number
Find the part number stamped on the housing or in the service manual and cross‑reference it to the product listing.
Match by Engine Code + Model Year
VIN lookup helps when manufacturers change parts mid‑year; double‑check against photos and fitment notes.
Confirm Component Type
Make sure you need a PCV valve membrane, an oil separator diaphragm, or a different breather membrane (EGR, intake actuator). Don’t mix them up.
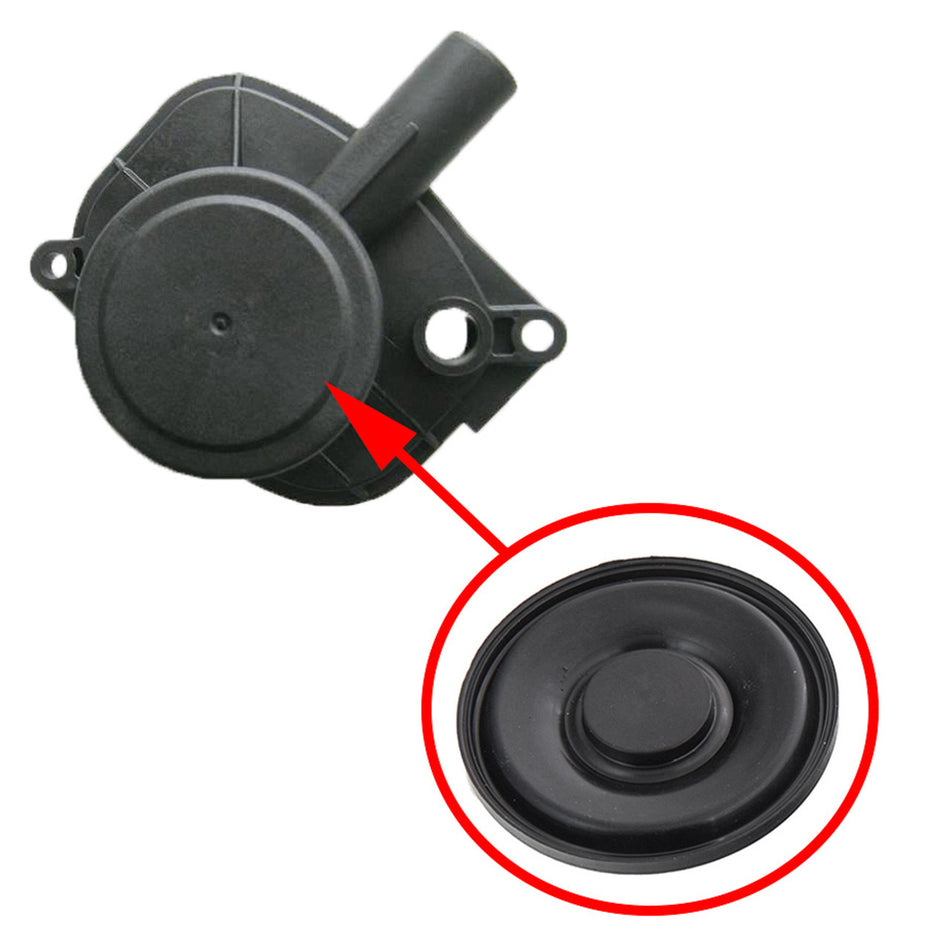
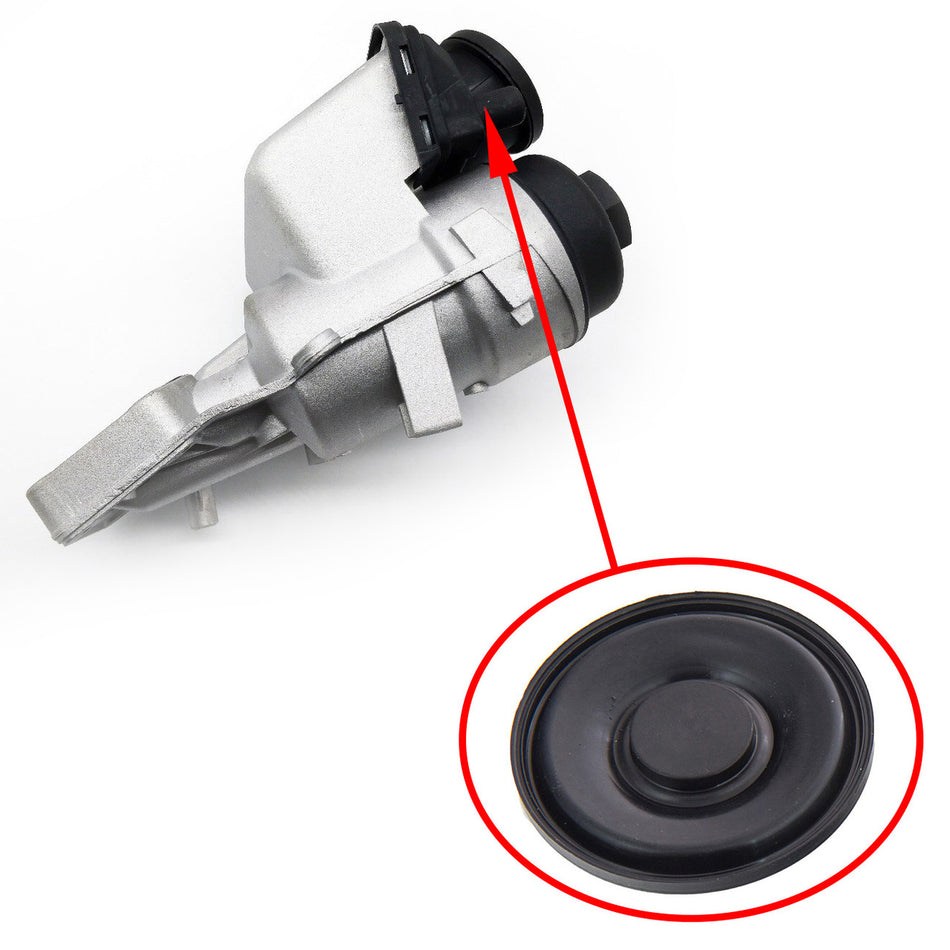
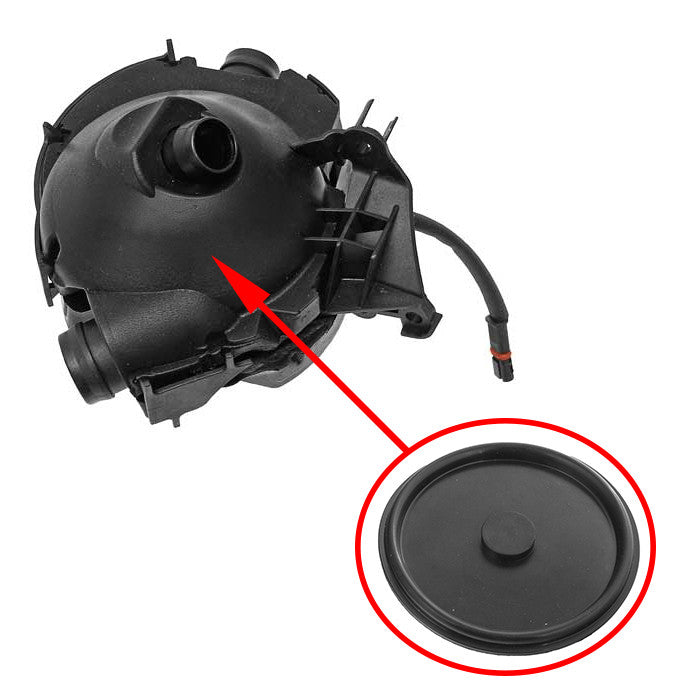
Before you order: have VIN, engine code, OE number, or clear photos of the housing and the failed diaphragm membrane, plus symptom notes and any scan data. Send these to support if you want confirmation.
Installation Overview
Remove the housing from a cool engine, cap any exposed ports, and clean the mating faces. Install the new membrane and seals from the kit, then check operation with a hand vacuum pump or pressure gauge to ensure there’s no leakage and that movement is smooth.
Reconnect the plumbing and electricals, erase codes, and complete a road validation. Replace cracked hoses while you’re in there, and consult a professional if access or diagnostics are beyond your tools.
Prevent Repeat Failures
Keeping upstream systems healthy extends PCV valve membrane life. Use correct oil spec and change intervals, replace brittle or collapsed hoses, clear separator passages and oil cooler passages if fitted, and cure crankcase overpressure sources such as stuck flap valves or clogged PCV screens.
On turbo cars, inspect the intercooler and intake plumbing for oil residue and remove sludge during service to reduce recontamination.
Buying PCV & Oil Separator Membranes Online
Choose parts by OE number and engine code and compare product diagrams before ordering. If you’re not certain, contact support with VIN, engine code, and clear photos of the housing and connector.
That prevents wrong parts and downtime. For shops: stock a common PCV/oil diaphragm repair kit for your fleet mix and keep a short diagnostic note with each job for faster repeat service.